Memorial Warship Mikasa in Yokosuka
Pictures and text by Brandon Donat
As a memorial to its exceptional service in the Russo-Japanese War and the last example of a pre-dreadnought battleship, the HIJMS Mikasa has been preserved and forever embalmed into the pier at Shirahama Beach in Yokosuka, Japan. For a small charge I was able to climb aboard the Battleship and explore it as a present day museum; gaining firsthand experience as to how the ship was constructed and an understanding of its role throughout history in Japan.
Due to inadequate industrial capabilities at the turn of the twentieth century, Japan outsourced its battleship construction to Vickers Shipyard in England. The construction of HIJMS Mikasa began in 1899 and was completed in 1902 - costing the Japanese government $1,430,530. Immediately upon its completion it was transferred and included in the Japanese Combined Fleet. Because it was a state-of-the-art battleship in this period, Admiral Heihichiro Togo - Commander of the Japanese Combined Fleet - chose HIJMS Mikasa to be the Flagship of the Combined Fleet throughout the Russo Japanese War.
In this period the HIJMS Mikasa surpassed all Russian Battleships with an unprecedented combination of firepower and strength. With its improved speed of 18 knots, stronger armor, and its immense arsenal of canons and torpedo capabilities, the HIJMS Mikasa was a force to be reckoned with. The HIJMS Mikasa proved its value in two critical battles in the Russo-Japanese War. The first at the Battle of the Yellow Sea (August 10, 1904), when it took over 30 direct hits and only sustained minor damage. In this battle, the Japanese Fleet annihilated the Russian Pacific Fleet in Port Arthur, Manchuria. The second was the Battle of the Sea of Japan off of Tsushima (May 28th and 29th 1904). After destroying what remained of the Russian Baltic Fleet, Japan obtained the definite upper hand in the Pacific. On September 5, 1905, Russia finally capitulated and signed a peace treaty with Japan in Portsmouth, New Hampshire - warranting Japan victorious in the Russo-Japanese War.
On September 11, 1905, HIJMS Mikasa sank in the Harbor of Sasebo when a shell magazine exploded in the aft port location of the ship which in turn set off a series of other explosions - further crippling any hope of rectifying the problem before she sank. After extensive work and funding was put into repairing the damage sustained by the explosions, HIJMS Mikasa was refloated in Sasebo Harbor eleven months after she sank. Once repairs were completed, it was re-commissioned as the Flagship of the First Fleet - engaging in maritime defense and security missions.
Due to later armament limitations by the Washington Naval Disarmament Conference, it was proposed that HIJMS Mikasa would be decommissioned and scrapped. However, preservation movements in support of HIJMS Mikasa rose both inside and outside of Japan. After discussion and negotiation at the military committee, Japan was allowed to keep HIJMS Mikasa as a memorial ship on the condition that it would be preserved in its decommissioned status. In November 1926, the ceremony for the commemoration of the Memorial Ship Mikasa preservation was held with the attendance of the Prince Regent (Emperor Showa), and from then on, the Memorial Ship Mikasa was to remain a symbol of pride for the Japanese nation.
|
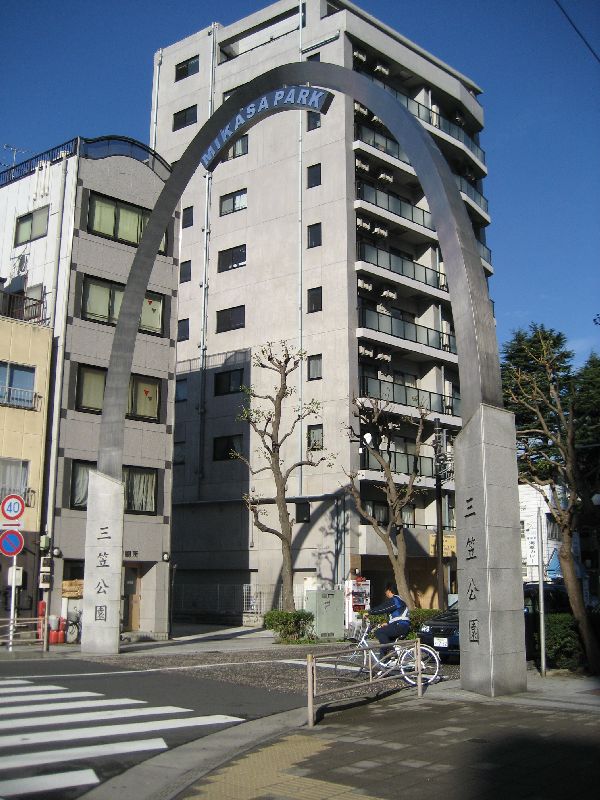
This is the entrance to Mikasa Memorial Park - a symbolic metal arch that correlates with other sculptures throughout the park. |

|
As a visitor enters the Mikasa Memorial Park they first see the Mikasa Memorial Ship with a memorial of Admiral Heihichiro Togo - Commender of the Combined Fleet - in front of it. |

|
Memorial of Admiral Heihichiro Togo with Memorial Ship Mikasa in the backdrop. |

|
This picture shows the stern of the Mikasa Memorial Ship. Inside this portion of the ship was Admiral Togo's living quarters. |
|
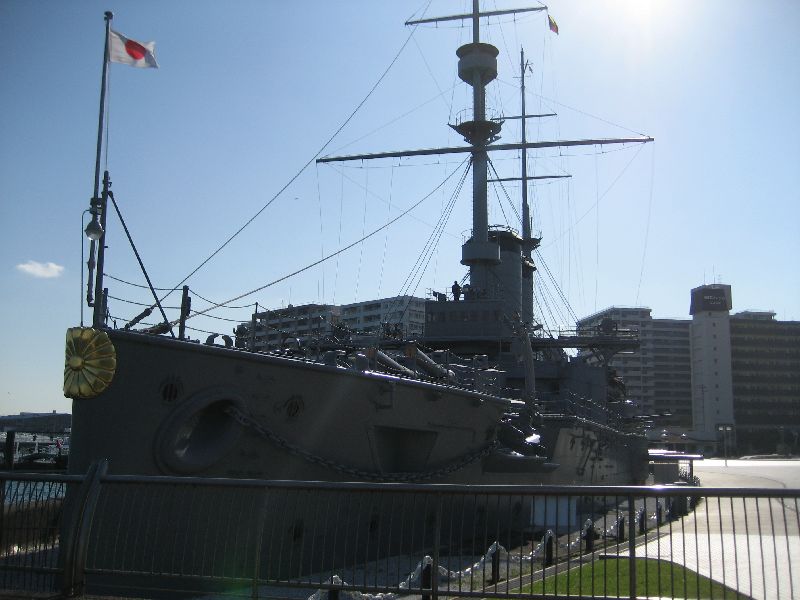
This shows the bow of the Mikasa Memorial Ship. Notice the entire ship is cemented into the pier - hence being embalmed forever. |

|
Picture of the port side of the Mikasa Memorial Ship. Due to the shipe being so long (400 feet) and not distance to back up, I captured as much of the ship in this shot as I possibly could. |

|
Prior to boarding the Mikasa Memorial Ship, this sign gives a visitor a brief overview of the ships history. |

|
I thought taking a picture of the floor plans of the ship would be useful as it would enable a reader to have a better perspective of the specifics of this memorial. |

|
Pictured here are more specifics pertaining to the displacement, length, weight, ship horse power, armament systems, and production information. |

|
Walking through the Memorial, I found it very impressive that the deck was made of wood. It had all been replaced when it was restored, but it would have looked identical to this when HIJMS Mikasa was operational. |

|
This shows five three inch canons that hung out of each port and starboard side of the ship. |

|
This is the climb that the sailors aboard the HIJMS Mikasa had to climb in order to reach the bridge from the main deck. |

|
These are two of four of the twelve inch cannons in which the HIJMS was equipped with. Above the cannons is the bridge. |

|
Top view, looking down on the twelve inch cannons. The entire circle is the turret in which enabled the cannons to be turned port or starboard for attack. |
|
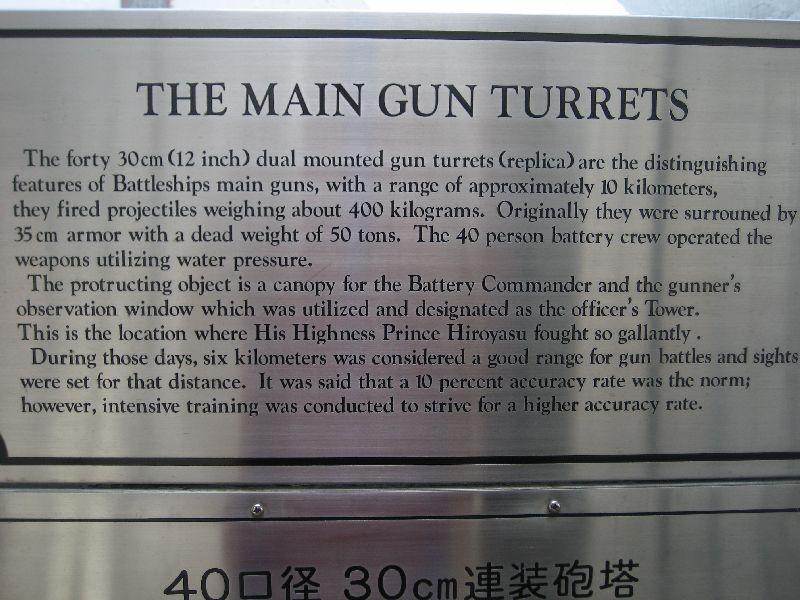
This sign gives a more detailed description of the twelve-inch cannons. |

|
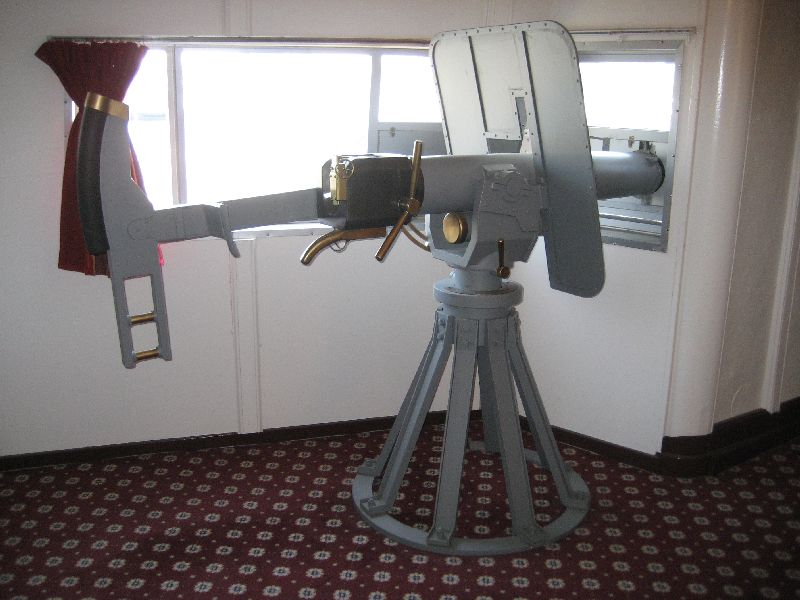
This is a three inch cannon located between the main deck and the bridge. Behind the cannon you will be able to see Monkey Island - popular day trip attraction for locals and visitors alike. |

|
This picture shows all three bridges. On the bottom is the Armored Bridge - barricaded by reinforced steel walls. Atop of that is the Main Bridge and Map Room. On the very top is the Top Bridge. According to Japanese records, Admiral Togo commanded both critical battles against the Russians from this top Bridge - fearless that he would take a mortal wound in this position. |

|
This shows the navigation equipment inside the Main Bridge. |

|
This sign explains in further detail about the HIJMS Mikasa Bridge. |

|
This is the Top Bridge. According to Japanese records, the plaques on the deck are where Admiral Togo and his command staff stood while they directed orders in both critical battles against the Russian Pacific and Baltic Fleets. |

|
This sign refers to picture 20 and establishes where each member of command stood during the battles. |

|
When the Japanese defeated the Russian Baltic Fleet on May 28, 1904, the Commanding Russian Rear Admiral Nebogatov and his crew were led through this door where they were taken prisoner. |

|
This sign gives further detail as to the door in which is photographed in the last picture. |

|
This is one of fourteen six inch guns that were once operational on the HIJMS Mikasa. I was told that many more bunks would have been hung in this compartment - not just the two shown. |

|
This is a replica of the firing squad in which would have operated the six inch guns. Loaded and operated by enlisted sailors and given the order by an officer. |

|
This sign give further detail about the six inch gun and the firing squad. It mentions a ten man crew however they only show a four man crew in the scenario. |

|
This is one of the two long corridors which spanned the length of each side of the ship. The hatch shown goes to the birthing quarters of the enlisted sailors - visitors were not permitted to enter that portion of the memorial. |

|
This picture shows Admiral Togo's living quarters. |

|
This picture shows Admiral Togo's lavatory and washroom. |

|
This is the dining area for the most elite officers aboard the HIJMS Mikasa. Lower ranking officers and enlisted had separate mess quarters. |
|
This shows a three inch cannon right in the elite officer mess quarters. |

|
This marking shows that this portion of the ships steel was manufactured at the Glascow Steel Plant in Glasgow, Scotland. |
|
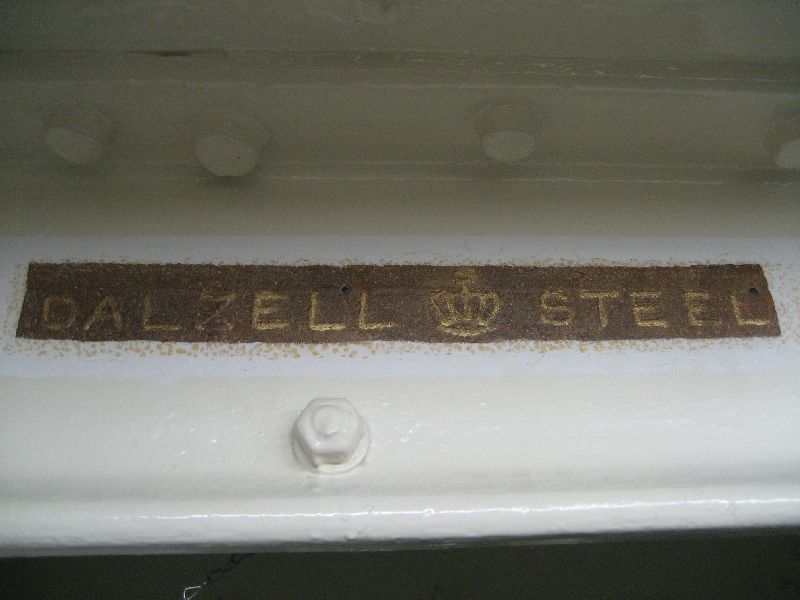
This marking shows that this portion of the ships steel was manufactured at the Dalzell Steel Plant in Motherwell, England. |

|
This sign gives a better understanding as to where the steel for the ships construction came from. HIJMS Mikasa was built in England between 1899-1902. |

|
This shows the surrounding area around the Mikasa Memorial Ship. Notice that the metal arch correlates with the arch at the entrance to the park. |

|
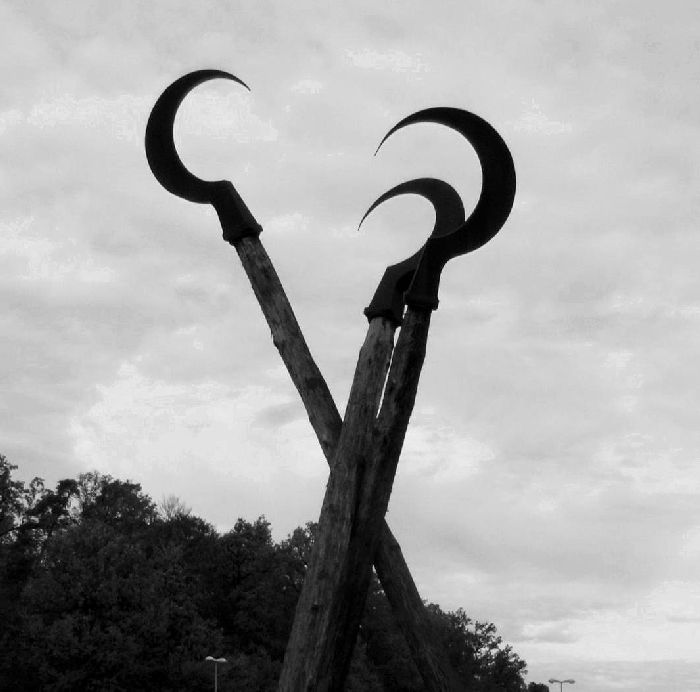
This is another picture of the surrounding area which captures the amphitheater and another metal arch that is located inside the park. In the backdrop is Yokosuka Naval Base, Japan. |
|
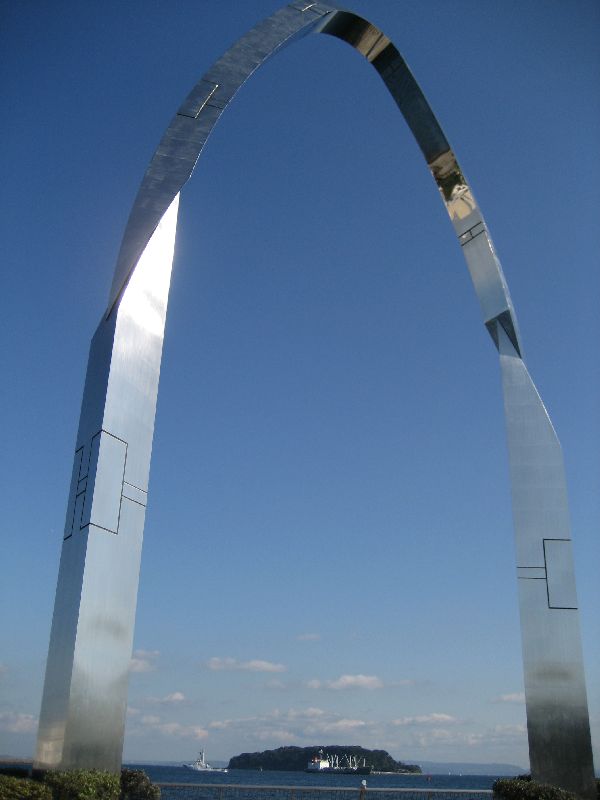
This last picture shows a metal arch with Money Island between it. |

|
This picture shows a more detailed picture of Monkey Island. I took this picture from the Top Bridge on the Mikasa Memorial Ship. |